Adding Servo-Controlled Turnouts to Your Model Railway with DCC-EX and EXRAIL
Introduction
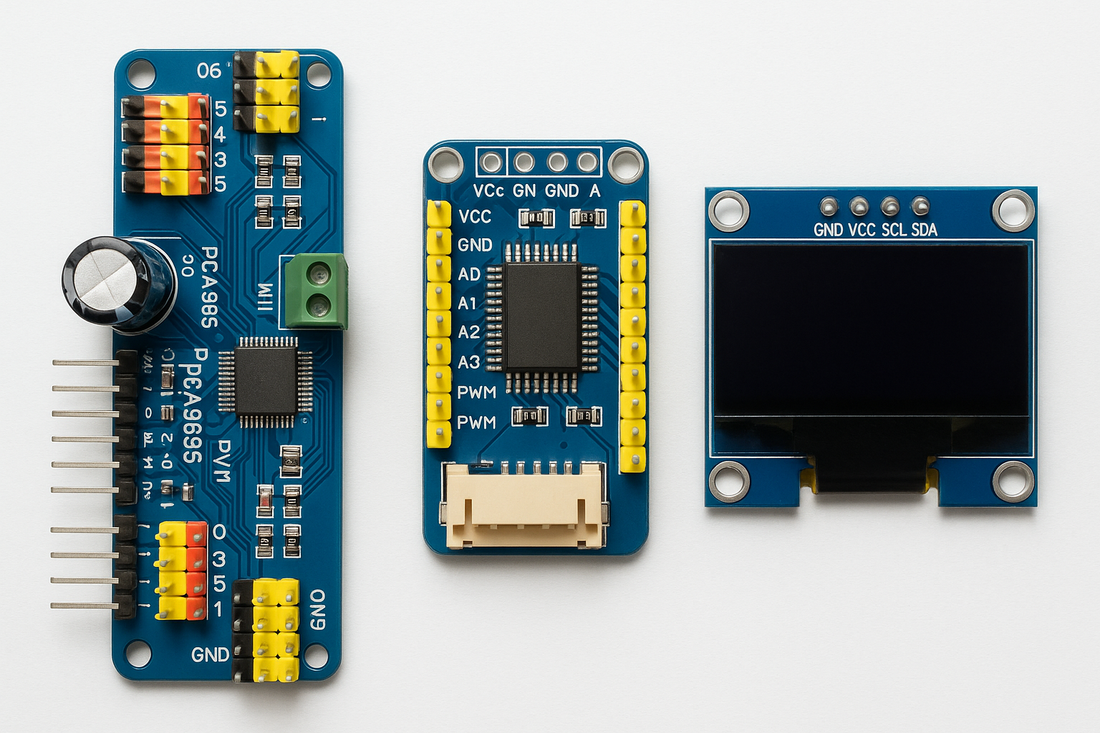
You can add reliable, low-cost servo turnout control to a running DCC-EX system using a PCA9685 (I²C) 16-channel servo driver and EXRAIL. This guide covers wiring, HAL setup, turnout definition, and calibration.
Hardware You Need
- PCA9685 16-channel I²C servo board
- Servos (one per turnout)
- Regulated 5 V power supply for servos (separate from CommandStation)
- I²C connection to your CommandStation (Qwiic on CSB1/EX8874 or SDA/SCL pins)
- Cables and common ground (CS GND ↔ PCA9685 GND ↔ 5 V PSU GND)
⚠️ Power warning: Do not power servos from the CommandStation. Use a separate 5 V supply to the PCA9685’s servo power input and share ground with the CommandStation.
Wiring & Bring-Up
- Connect PCA9685 SDA→SDA, SCL→SCL, VCC (logic 3.3/5 V) and GND to the CommandStation.
- Feed the servos from the separate 5 V supply connected to the PCA9685’s servo power rail; share GND with the CommandStation.
- Power up and watch the serial log; it will list detected I²C devices and the PCA9685’s I²C address (commonly
0x40, but verify).
Note: If you see
check the SDA/SCL wiring and ensure correct orientation.< No I2C Devices found >
HAL Configuration (PCA9685)
Declare the PCA9685 in myAutomation.h using the HAL(...) macro.
// start vPin, count, I2C address
HAL(PCA9685, 100, 16, 0x40)
vPin → Channel Map
- vPin 100 → PCA9685 ch 0
- vPin 101 → ch 1
- …
- vPin 115 → ch 15
Adding another PCA9685? Give it a new address (e.g., 0x41) and a new vPin block:
HAL(PCA9685, 116, 16, 0x41) // vPins 116–131
Defining Servo Turnouts in myAutomation.h
After registering the PCA9685, define each servo turnout using SERVO_TURNOUT.
Syntax
SERVO_TURNOUT(id, vPin, active_angle, inactive_angle, profile, description)
Parameters
- id → Turnout ID number (referenced in throttles/automation)
- vPin → Virtual pin assigned to servo (from PCA9685 block)
- active_angle → Servo position for "thrown"
- inactive_angle → Servo position for "closed"
- profile → Motion profile (e.g., "Fast", "Slow")
- description → Label for turnout
Example
// First servo (channel 0, vPin 100)
SERVO_TURNOUT(1, 100, 250, 250, "Fast", "Turnout 1")

// Second servo (channel 1, vPin 101)
SERVO_TURNOUT(2, 101, 250, 250, "Fast", "Turnout 2")
Both active and inactive angles are initially set to the same value (250) so the servo has a safe starting point. You can later fine-tune these.
Important: After adding or editing HAL(...) or SERVO_TURNOUT() entries, you must recompile and upload the sketch to the CommandStation. This ensures the PCA9685 is properly detected and initialised at startup.
Calibrating Servo Angles
- Start with both angles equal (e.g., 250, 250).
- Use the EX-Toolbox Android application to make incremental adjustments to the servo position. This allows you to carefully move the servo until the turnout aligns correctly without stressing the mechanism.
- Once you have found the correct active and inactive angles with EX-Toolbox, update your
SERVO_TURNOUT()command inmyAutomation.hwith these values. - After updating the
SERVO_TURNOUT()command with your new angles, you must recompile and upload the sketch again to the CommandStation before testing. - Test turnout via throttle or EXRAIL commands:
- Closed →
<T 1 C> - Thrown →
<T 1 T>
- Closed →
- Repeat for each turnout until all are calibrated.
Note: Many throttles and consoles require angle brackets < > around the turnout commands. Do not omit them.
Example After Tuning
SERVO_TURNOUT(1, 100, 120, 400, "Fast", "Turnout 1")
Example Block: Four Servos (vPins 100–103)
// PCA9685 mapped at vPins 100–115
HAL(PCA9685, 100, 16, 0x40)

// Define four turnouts
SERVO_TURNOUT(1, 100, 250, 250, "Fast", "Turnout 1")
SERVO_TURNOUT(2, 101, 250, 250, "Fast", "Turnout 2")
SERVO_TURNOUT(3, 102, 250, 250, "Fast", "Turnout 3")
SERVO_TURNOUT(4, 103, 250, 250, "Fast", "Turnout 4")
Using EngineDriver or Other Throttle Apps
When using EngineDriver (an Android application) to control turnouts:
- See EngineDriver First Connection to DCC for how to connect EngineDriver to your DCC-EX system.
- Once connected, EngineDriver will briefly display "Points Loaded".
- Click the three dots in the top-right corner and select Turnouts/Points.
- You will see the turnouts you have configured.
- Tap Throw to throw the turnout or Close to close it.
It really is that simple — once set up, your turnouts can be operated directly from the Android throttle app.
Troubleshooting
| Problem | Cause | Solution |
|---|---|---|
| PCA9685 not detected | Wrong wiring/I²C addr | Check SDA/SCL wiring, verify address in log |
| Servo not moving | Power issue | Confirm 5 V supply + common ground |
| Chatter/jitter | Over-travel / weak PSU | Adjust angles, use stable 5 V supply |
| Wrong channel moves | Wrong vPin mapping | Recheck vPin ↔ channel mapping |
✅ With HAL configured, turnouts defined, and servos calibrated (using EX-Toolbox for precise adjustments), your DCC-EX system now supports servo-controlled turnouts through EXRAIL!